

Forum Replies Created
-
AuthorPosts
-
Hi Chris
Are they modern, repro carpets? Do they have loops of webbing sewn to the carpet edge to hold the clips? If so, then it’s the position of those webbing loops that will determine where any corresponding holes in the chassis need to be – and not necessarily the exact same places as with the original carpet.Those holes. yes they are self tappers. The holes are less than an inch up from the floor surface and hard to spot. Impossible if the vertical carpet is already on. Size. the screws are quite chunky. maybe for a4mm screw but more likely 3mm. Start with a larger screw and – if too tight – use a smaller screw.
For the rear carets there are two holes about 4 inches in from the inner sills and an off-centre middle hole that is closer to the LH sill than the RH. my car is a LHD car by the way. About 23inches from the LH sill – which makes it about 26 inches from the RH sill.
the front carpets also have three clips/ holes – again less than an inch up from the floor. The two end ones are about 4 inches in from the sills. the third’ middle’ hole is right over on the drivers side for the safety reasons you alluded-to. About 14? inches in or maybe 17? Anyway, the two holes on the drivers side are only about as wide apart as the plastic/ rubber foot mat. (LHD car remember).
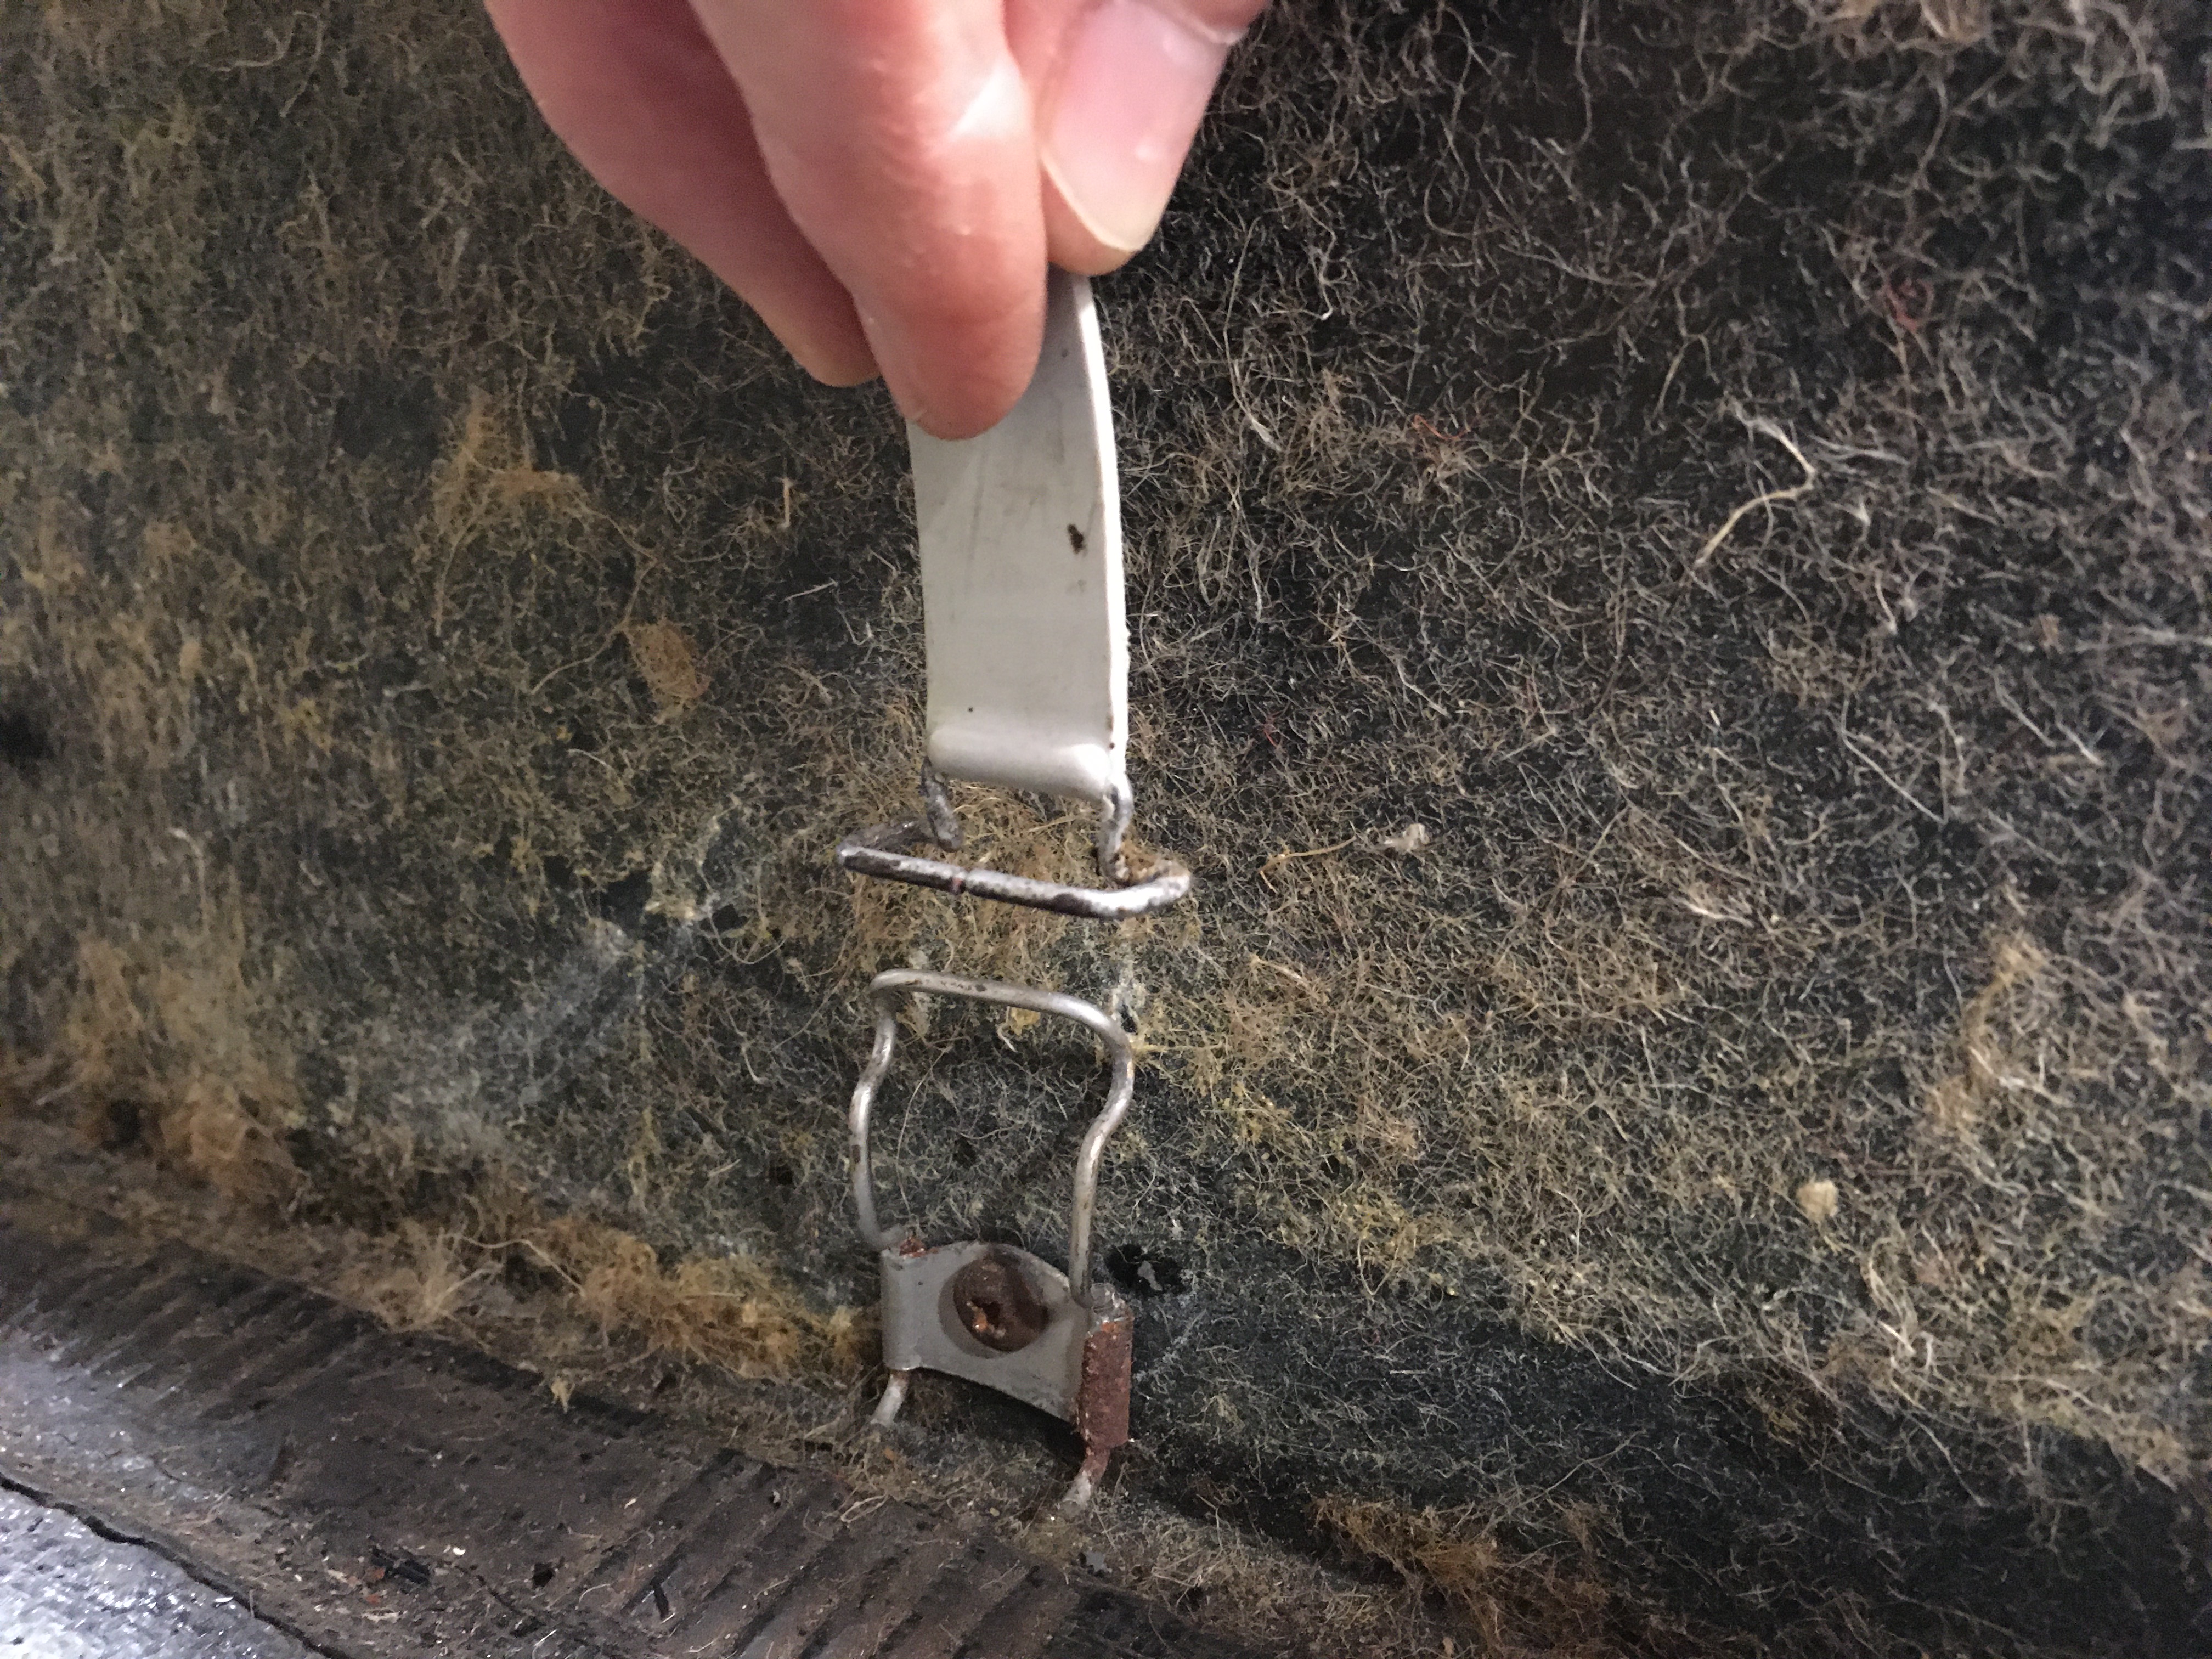
Have you got lots of padding on the box under the front seats? the front carpet clips on my pallas car had little spacers to bring the clips out beyond the depth of the underlay.
If you haven’t got webbing loops on the backs of your carpets you’ll need to add them – and then you can choose where you make your holes and what size screws you use. If you have to drill new holes, only go as deep as you need to, to avoid risk of damaging the fuel tank.
If you have loops and clips but the clips aren’t fitted yet, then they may be hard to fit. the originals were sprung steel and resistant to being opened up to put on the loops. risk of the steel snapping, loop tearing or plastic breaking. If you need to sewn on your own loops, pre-fit the clips. make sure you get them the right way round 🙂
Foam. On my carpets original the foam is glued in with contact adhesive. All round the perimeter and the odd wipe across the main area. In other words not over-done.
The front footwell is virtually flat so you can glue foam on with confidence. The front edge of the rear footwell rises up under the front seats. if you glued your foam on flat, you might find your carpet rucks up when fitted. better to glue the larger flat area and leave the glue tacky on the front edge. fit the carpets and press the foam to the carpets only when things have settled into their positions.
Don’t worry John. i recall i took you up on your offer specifically because it was an old original Torrid brand – but that very fact means it was likely to be dead or unreliable. I’ll dig out the new ‘back-up’ one I bought and fit that.
Still working through my snag list.
What I thought was a slight weep from the oil drain plug or filter plate is now showing itself to be something altogether different.
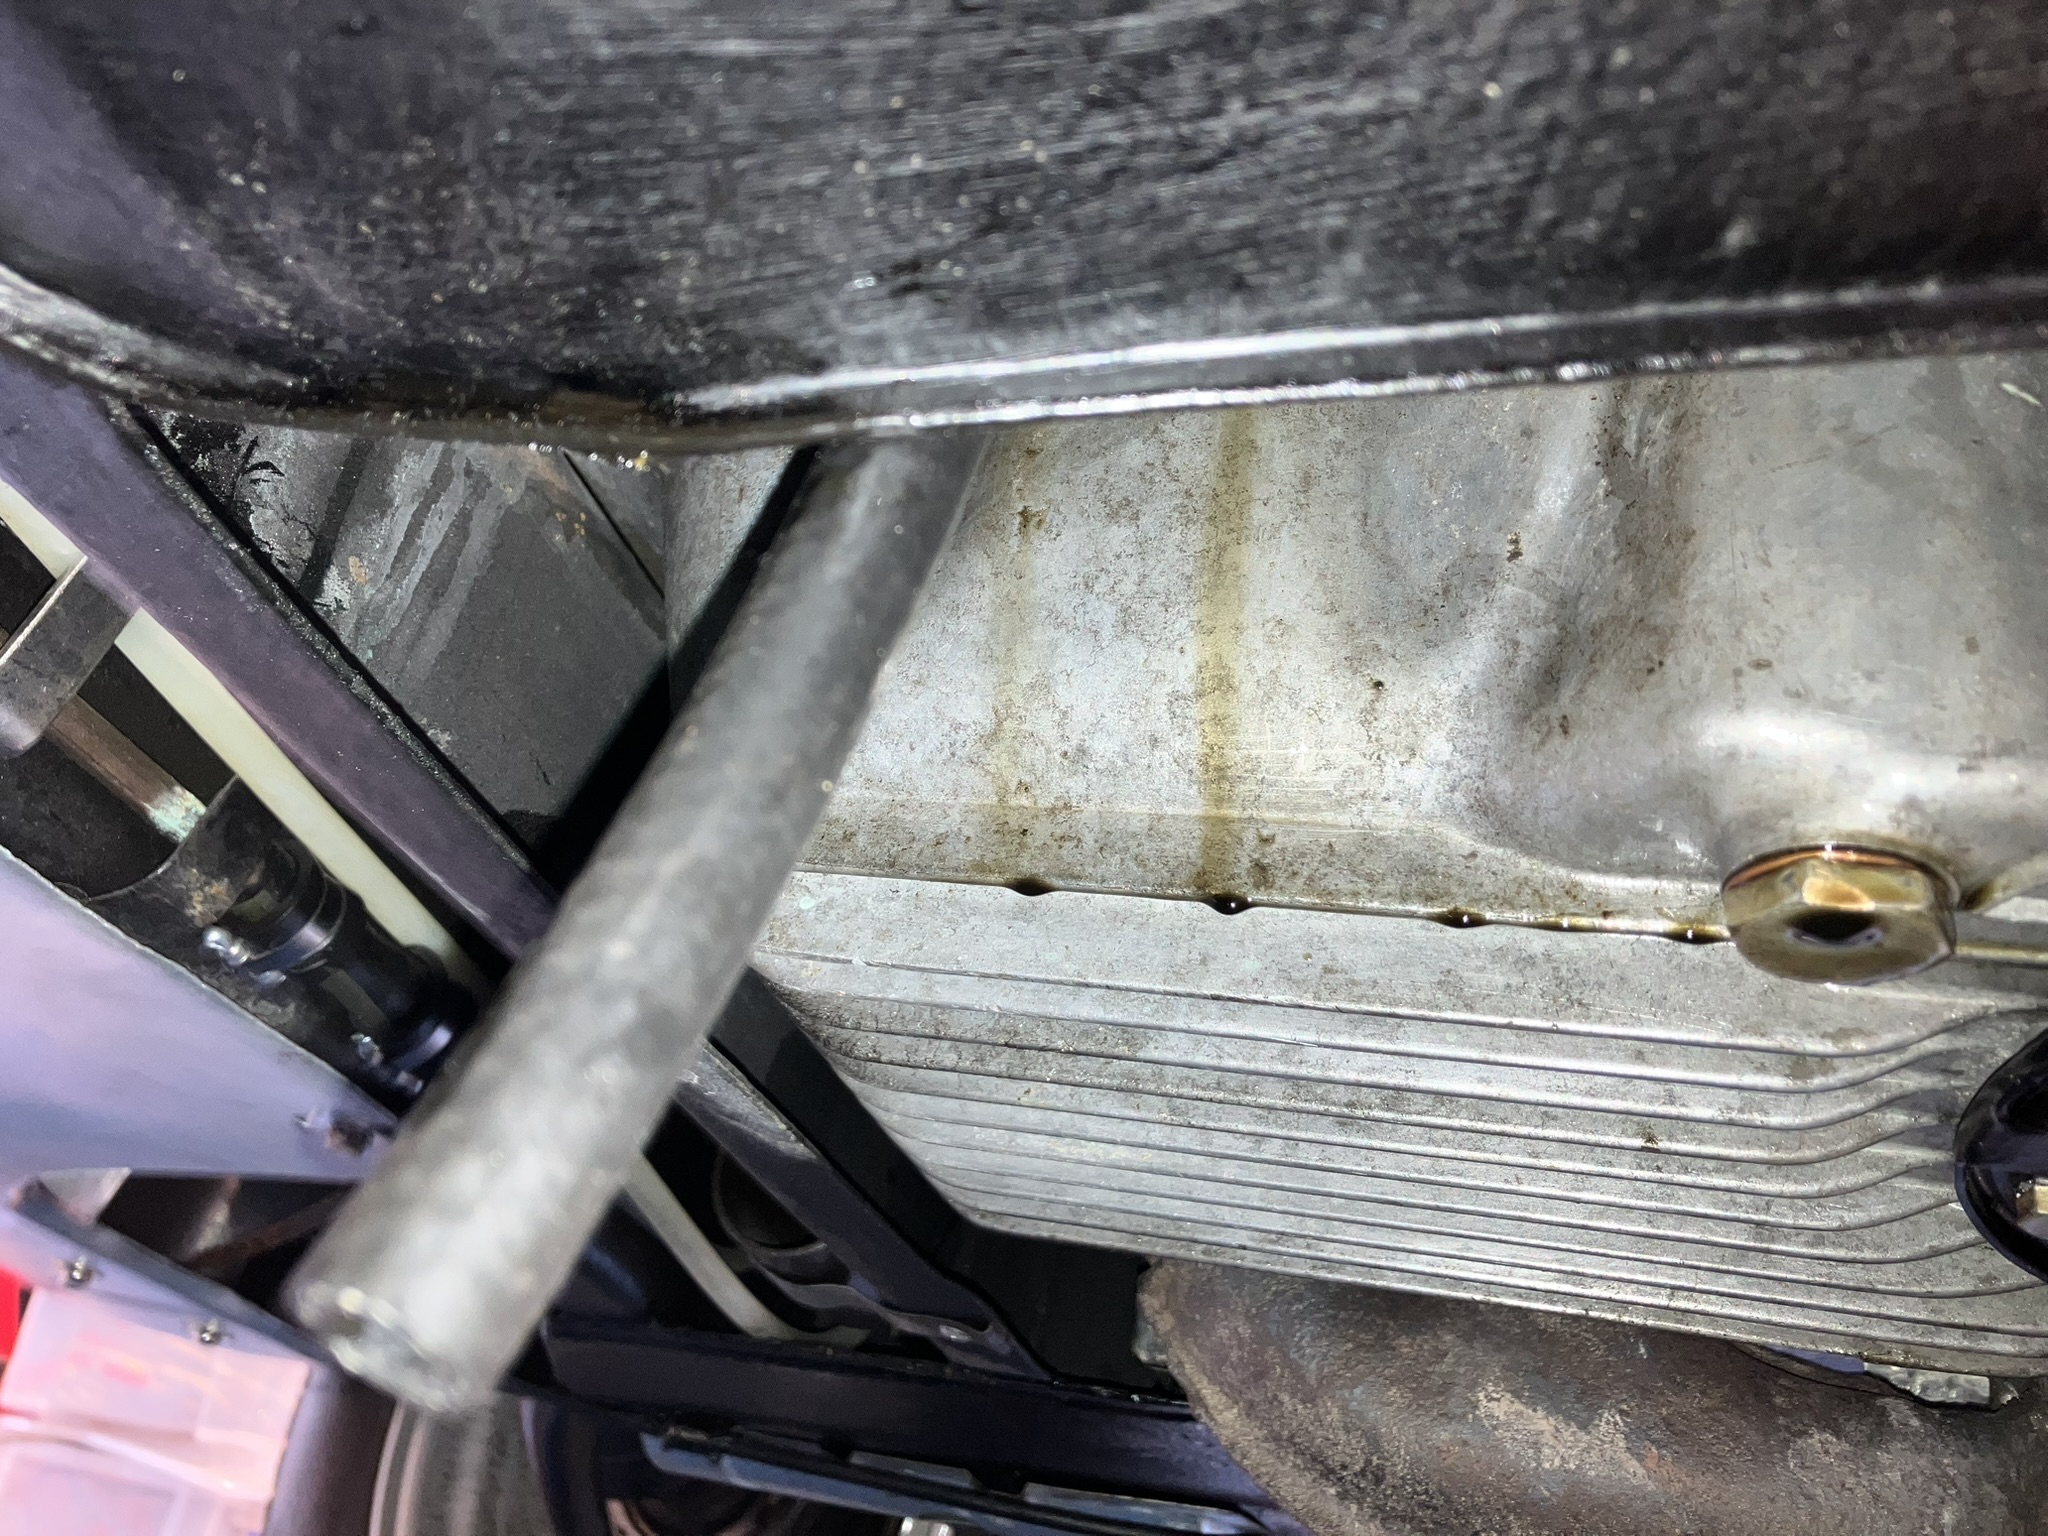
The location of the tell tale oil streaks down the sump had me thinking it might be the seal on the base of the dipstick tube – but I was over-thinking things. It’s that good ol’ prime suspect – the oil pressure switch.
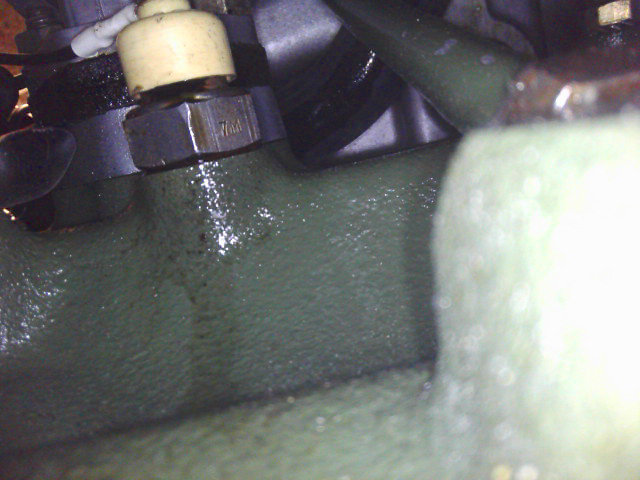
Judging by the oil on the hex, it looks to be leaking from the body of the switch – not the washer securing it to the block, so it seems to be imminent switch failure. The wise thing is to assume that is the case anyway as when they go – they go.
I think it’s an original but used switch from an old engine that John Montgomery kindly gave me. I’m pretty sure i also bought a new modern one in case it didn’t last long, so i’ll have to search for that.
I’m actually quite relieved as (awkward position aside) it’s a problem that can be addressed. I’d rather this than a cracked sump or leaking seal between sump and block.
No. It’s the main, high current power from the battery that connects to 30. The wire possibly has a black tag on it?
Power from the light control into the relay is the simple, low current ‘trigger’ signal to operate the relay. That would go to pin 86. the wire possibly has a yellow tag?
Pin 85 is the ground for that trigger signal. It may go back into (or seems to come from) the loom. Alternatively, it may be a ‘flying lead’ (i.e. separate from the loom) and may be bolted to the common. shared earthing post. the wire possibly has a mauve/ pink tag on it?
Pin 87 is power out from the relay to your lights. The wire possibly has a white tag? It goes back into the loom. So in essence it’s the continuation of the pin 30 battery power. Somewhere deep inside the loom is a ‘Y’ split so that power is provided to both RH and LH headlamps.
If your wires were burnt out and all you have is the stumps at the loom end – and no coloured tags – then you will need a meter and/ or test lamp to find out which ‘stump’ goes to where based on what i’ve written above.
Those clips were only used on front doors but are quite handy and wouldn’t look out of place on a rear door.
Well the Carmargue is a delta so I don’t expect to see a great difference between colours 🙂
As some here will know, when the DS23 was introduced, the DS21 was retired from the ‘DS’ range but – because it was such a practical combination – was immediately added to the ‘ID’ range as the ‘DSuper5’.
Sounds as though Chris has a 1971’DS21′ and Peter has a 1972+ ‘DSuper5’. Similar/ same colours i think?
Well congratulations again. I took me several weeks to get used to driving my car again after (27?) years – then it was like I’d never been away.
You’ll need to share some more photos.
Congratulations! So was that a car you were eyeing up some months ago or a more recent find?
Pallas. Ds 23? efi?
Oh! So if it stops a second attempt at a start after a fail, then it’s not the voltage regulator relay, and most likely some detent/ gate thing in the switch as John said.
Ha ha! I’ve not had a car with that kind of dash otherwise it’s the kind of thing I’d have had to investigate.
I initially thought it might be something in the switch but have my doubts and think it’s just clumsy wording or a bad translation and means something like “once the starter has been engaged the first time and the engine is running”. I think it most likely refers to the ‘starter interlock’ function that bvh cars are said to have. Because they start with the gear wand, then to prevent you engaging the starter when the engine is running by moving the gearstick to the wrong (starter) position, the charging circuit triggers a second relay in the voltage regulator that disables the starter switch (removes its path to ground). When you turn the ignition off, the relay is no longer excited and releases – allowing you to try the starter again.
I say bvh cars are ‘said to have this’ but if you look at wiring diagrams, it’s not universal. It was only introduced in 1969. So my 1968 car doesn’t have it. Also, circuit diagrams suggest it was introduced to both bvh AND manual gear change cars. (don’t try it to find out!) And being introduced in 1969, that’s one year before the third style dash – so wasn’t a new feature when that dash was introduced. I’m sure they mean that.
Dashboards. As I say, I’ve not had a car with that dash, but I’ve seen cars at rallies that seem to have original dashboards and there is a range of colours – going from something you would definitely call grey, to a grey so dark you’d possibly call it black. 69 cars (the year before the third dash) had a clearly grey dash. The next year and the introduction of the three dial dash, it seems to have been darker and closer to black.
To my eyes – and it’s just an opinion – as long as a restored dash has ‘good’ wrinkles like the original, black looks absolutely fine – especially once all the knobs and switches are fitted to it.Perhaps this is because of the way wrinkles scatter light and the way the fixtures break up the overall picture?
If you are getting a dash re-painted, the trick is to find a supplier of something that has both the right colour AND the right kind f wrinkles. It’s not easy! You can find the colour you want – but not in a wrinkle finish, or find a wrinkle finish – but in a limited range of colours. My guy in italy spent years trying to perfect his ‘gris rose’ colour. In the absence of wrinkles perhaps flat dark charcoal grey in a satin finish would look fine?
Technical note from the introduction of the third dash in September 1969. The ‘ATTENTION’ note at the bottom reads: “ATTENTION: A safety mechanism prevents the starter from being engaged twice in a row without first switching off the ignition.”
I hadn’t appreciated that. I wonder how it works?

Congratulations. When you get the dash back in, suddenly it starts to resemble a car again doesn’t it? Something you might actually drive.
Looks good. Are you pleased with it? How does it compare to the original texture?
I recently rediscover a video on facebook of someone doing this themselves with VHT wrinkle paint and a heat gun. i think the thicker the paint, the bigger the wrinkles – so that’s difficult to control.
And someone else on facebook did a gris rose wrinkle finish. They used VHT, over-sprayed it with gris rose, then tried to wrinkle it up. it’s not bad. the wrinkles have come out pretty rounded – rather than sharp-edged and too shiny. Maybe using satin paint (if he did not?) would produce a different result. I tried gris rose over VHT but couldn’t get it to wrinkle evenly and fully. so this is actually a good result.

All you need now is some way to bring some shine back to your foam top and yours would look as good as new.
After thorough paint/ rust removal, I used a dot punch to mark the centre of the weld, then i made a deeper indentation with a 2mm drill. not all the way through. THEN I used the spot weld drill bit……
-
AuthorPosts