

Forum Replies Created
-
AuthorPosts
-
Oh! So if it stops a second attempt at a start after a fail, then it’s not the voltage regulator relay, and most likely some detent/ gate thing in the switch as John said.
Ha ha! I’ve not had a car with that kind of dash otherwise it’s the kind of thing I’d have had to investigate.
I initially thought it might be something in the switch but have my doubts and think it’s just clumsy wording or a bad translation and means something like “once the starter has been engaged the first time and the engine is running”. I think it most likely refers to the ‘starter interlock’ function that bvh cars are said to have. Because they start with the gear wand, then to prevent you engaging the starter when the engine is running by moving the gearstick to the wrong (starter) position, the charging circuit triggers a second relay in the voltage regulator that disables the starter switch (removes its path to ground). When you turn the ignition off, the relay is no longer excited and releases – allowing you to try the starter again.
I say bvh cars are ‘said to have this’ but if you look at wiring diagrams, it’s not universal. It was only introduced in 1969. So my 1968 car doesn’t have it. Also, circuit diagrams suggest it was introduced to both bvh AND manual gear change cars. (don’t try it to find out!) And being introduced in 1969, that’s one year before the third style dash – so wasn’t a new feature when that dash was introduced. I’m sure they mean that.
Dashboards. As I say, I’ve not had a car with that dash, but I’ve seen cars at rallies that seem to have original dashboards and there is a range of colours – going from something you would definitely call grey, to a grey so dark you’d possibly call it black. 69 cars (the year before the third dash) had a clearly grey dash. The next year and the introduction of the three dial dash, it seems to have been darker and closer to black.
To my eyes – and it’s just an opinion – as long as a restored dash has ‘good’ wrinkles like the original, black looks absolutely fine – especially once all the knobs and switches are fitted to it.Perhaps this is because of the way wrinkles scatter light and the way the fixtures break up the overall picture?
If you are getting a dash re-painted, the trick is to find a supplier of something that has both the right colour AND the right kind f wrinkles. It’s not easy! You can find the colour you want – but not in a wrinkle finish, or find a wrinkle finish – but in a limited range of colours. My guy in italy spent years trying to perfect his ‘gris rose’ colour. In the absence of wrinkles perhaps flat dark charcoal grey in a satin finish would look fine?
Technical note from the introduction of the third dash in September 1969. The ‘ATTENTION’ note at the bottom reads: “ATTENTION: A safety mechanism prevents the starter from being engaged twice in a row without first switching off the ignition.”
I hadn’t appreciated that. I wonder how it works?

Congratulations. When you get the dash back in, suddenly it starts to resemble a car again doesn’t it? Something you might actually drive.
Looks good. Are you pleased with it? How does it compare to the original texture?
I recently rediscover a video on facebook of someone doing this themselves with VHT wrinkle paint and a heat gun. i think the thicker the paint, the bigger the wrinkles – so that’s difficult to control.
And someone else on facebook did a gris rose wrinkle finish. They used VHT, over-sprayed it with gris rose, then tried to wrinkle it up. it’s not bad. the wrinkles have come out pretty rounded – rather than sharp-edged and too shiny. Maybe using satin paint (if he did not?) would produce a different result. I tried gris rose over VHT but couldn’t get it to wrinkle evenly and fully. so this is actually a good result.

All you need now is some way to bring some shine back to your foam top and yours would look as good as new.
After thorough paint/ rust removal, I used a dot punch to mark the centre of the weld, then i made a deeper indentation with a 2mm drill. not all the way through. THEN I used the spot weld drill bit……
Nice work. And it’s nice to be reading about someone else’s achievements rather than me going on about what i’ve done.
Now would be a good time to check that the rod that links the height lever to the rear height corrector is free to move in its nylon eyes along the length of the sill. maybe grease them up.
My outer sills were good on the vertical faces but all rusted out at many points on the small horizontal lip (19 each side) where the screws that hold the sill covers had been. i didn’t fancy the work of trying to patch in so many thin pieces and for that reason i replaced the whole sills. But i think you were wise to keep your original sills. When you replace them, you don’t realise it at the time but it’s important to get the two lengths either side of the B pillars in the right spots relative to each other. you need to have the right distance between the holes where the door jamb screws go.
Those spot weld drills. I use those. I bought a Clarkes branded set that had quite a large ‘saw’ diameter (10mm?). That’s handy for making sure you catch all the spot, but they leave big holes. i bought some more that were slightly smaller (5/16″) and so cut out less.
I did MANY years of suddenly feeling motivated to work on the car from April, then rapidly losing that motivation come October. I made this summer the ‘big push’ to get the car 90% finished.
Don’t do it, put the carpet and cover back down.
Carpet has gone back down. No seal 🙂
We’re never too old to learn, are we? Bear in mind that i’ve not driven my car for 27 years but, when i did, I though the big red pressure light came on just about most times i put the key in the ignition. And i think i’ve always associated the light going out with the car being pressured and ready to drive away.
I fitted the recalibrated pressure switch yesterday. When i turned the key after bleeding the brakes, it came on. All good so far. When i started the car and built pressure, it went out. Also good. However I then put the car in low and depressurised the system and the light DIDN’T come back on!?! just like when it was calibrated at on 22 bar!
I left it over night but in turning on the key this morning, STILL no light. It took several pumps of the brake pedal this morning to get the light to first flicker and then stay on – so there clearly was some level of residual pressure in the brake system, even with the rest of the system depressurised. Closing the bolt on the regulator, starting the car and pressurising the system caused the light to go out again – as expected – but the car was still building pressure and was sitting on it’s bump stops and not ready to drive?
I did some reading – several owners manuals – and realised that Citroen separate the topics of the red light going on and off and the car rising and being ready to drive. The red light goes out when there is sufficient pressure in the BRAKE circuit, and the manuals say that when you go to start the car, the light MAY be illuminated – nodding to there being residual pressure after stopping the car.
In terms of car heigh, the manuals just say ‘wait a few minutes until the car had risen’. And this isn’t linked to the red light at all.
I suppose I shouldn’t be surprised as the red light is primarily about the ability to brake safely. I also found out that when i start my bvh, I should be putting my foot on the brake button. Didn’t know that. Not sure if it’s to stop the car lurching (as a bvh can do if parked up in gear) or if it’s to put the carb in its ‘slow idle’ mode. Anyway. i’ll try and remember…
So is this the point where i say i actually researched buying a tool and lead seals to replace the seal like the original had??
It was cheap – but I’m not that crazy. Yet.
Thanks for the offer Julian. The casing is not a sealed fit. It’s just enough to keep dirt out. A 3D version would do the same job. The whole pedal unit is in a box anyway so should escape most muck. Peter’s helped out with some handy 3D prints but in the first instance i’ll try a couple of different glues on it.
With its rolled head drilled off, the rivet was too short to reuse so….I made another one with brass tube! I didn’t really need to bother. Citrotech recalibrate them and simply shove an M4 screw and nut through. I think I felt that a rivet looked neater (who the hell is ever going to see??).
Doh! I meant to add this to my ‘nearly there’ thread…..
I can’t delete it from here now, but i will also add it to the ‘nearly there’ thread as follow up to the earlier posts.
Someone needs to add a post here about light stalks, main beams and relays so that we can all get back on topic.
Hydraulic pressure switch and associated warning light now working as Andre intended 🙂
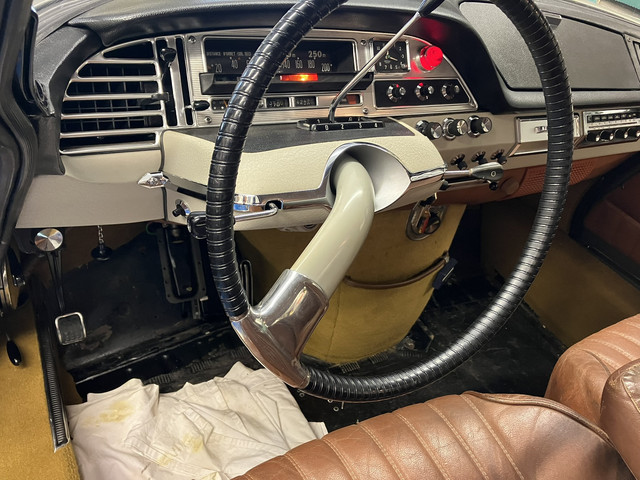
After I’d discovered that mine worked in a bench test, but operated at only 22 KG/cm2 (about 22 bar), I temporarily refitted it to the car. Frustratingly – it didn’t work on the car!
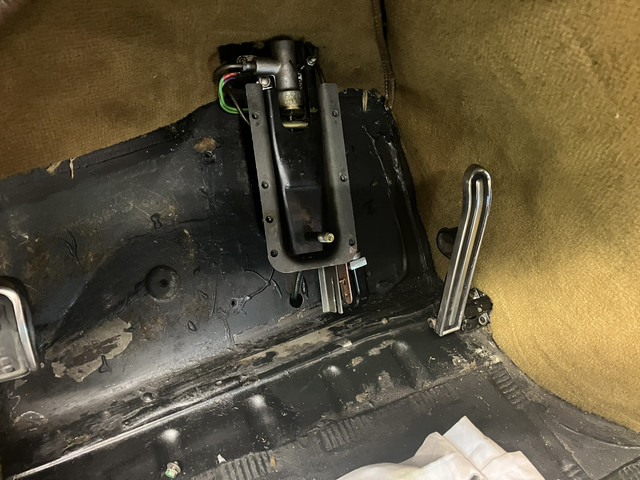
I got another from Holland and, on testing, it worked at 60 bar – just on the margins of ‘in spec.’. I removed my old one again and decided to recalibrate it while i was at it – just for the learning. It was no good as it was. It proved easy to re-calibrate but in removing the rivet holding its case on, the drill slipped and shattered the plastic case.
That being so, I planned to fit the other one I’d got from holland. But I decided to slightly recalibrate it so that it was in the middle of spec. About 65 bar. I could also clean the contacts. I removed the cover (carefully this time) and this is what i found. Piles of rust! It had looked fine from the outside.


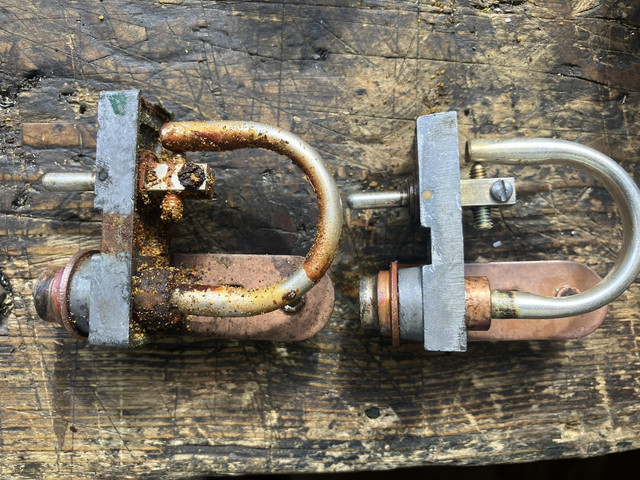
I’m so glad i didn’t just fit it in its 60 bar mode! In the end, i’ve used my original switch – recalibrated to 64 kg/ cm2 – and used only the cover from the spare i bought.
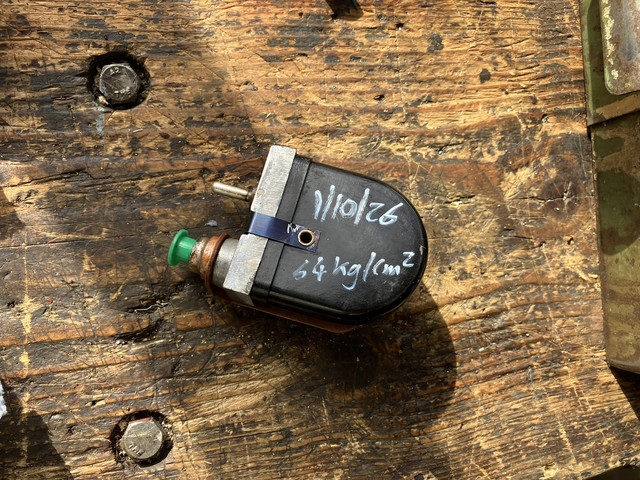
I think I’ve worked out why – when still in its 22 bar mode – it didn’t work when refitted. I’m guessing that there is residual pressure in the switch that is not released when the engine is turned off or even when the pressure regulator bolt is loosened. After refitting and starting the engine, I think pressure in my car didn’t drop to 22 bar or below – so my light never came back on. I think that – again, when it was in its 22 bar mode – if I’d opened the brake bleed screws, pressure would have dropped to zero and my light would have come on – but it still needed fixing.
Now that it’s correctly recalibrated, if pressure drops to anything below 64 bar the light will come back on. And, if my theory is correct, there can’t be that much residual pressure in the system.
Next/ last job is to bleed the front brakes again. then i can investigate the suspected air ingress on my carb.
Hydraulic pressure switch and associated warning light now working as Andre intended 🙂
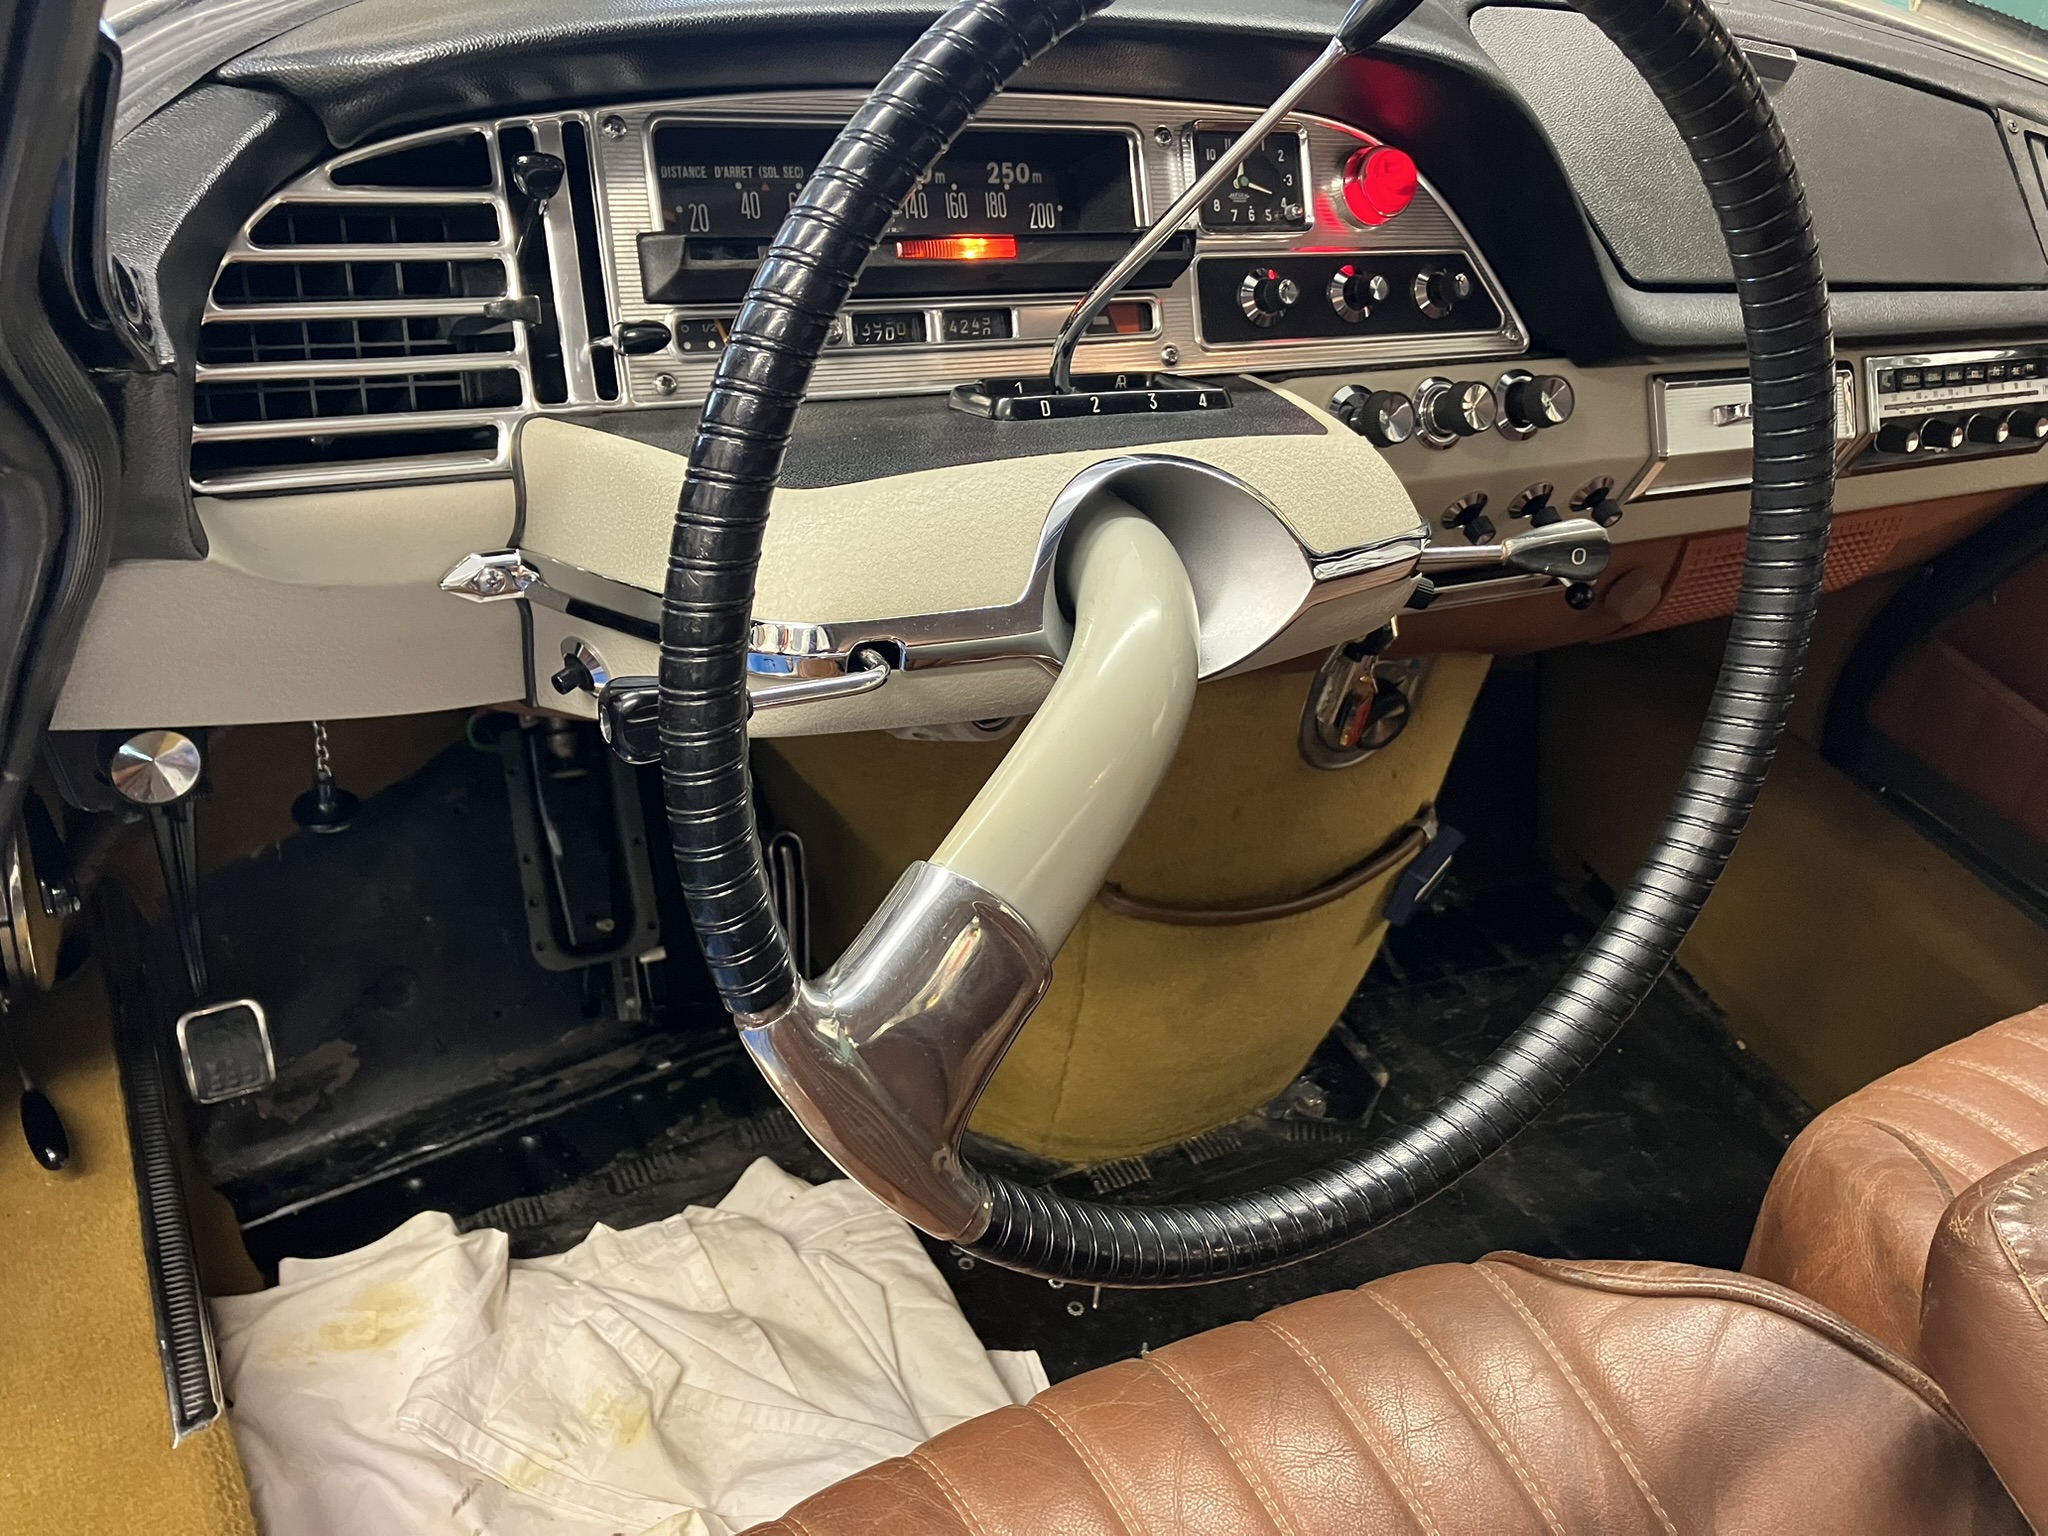
After I’d discovered that mine worked in a bench test, but operated at only 22 KG/cm2 (about 22 bar), I temporarily refitted it to the car. Frustratingly – it didn’t work on the car!
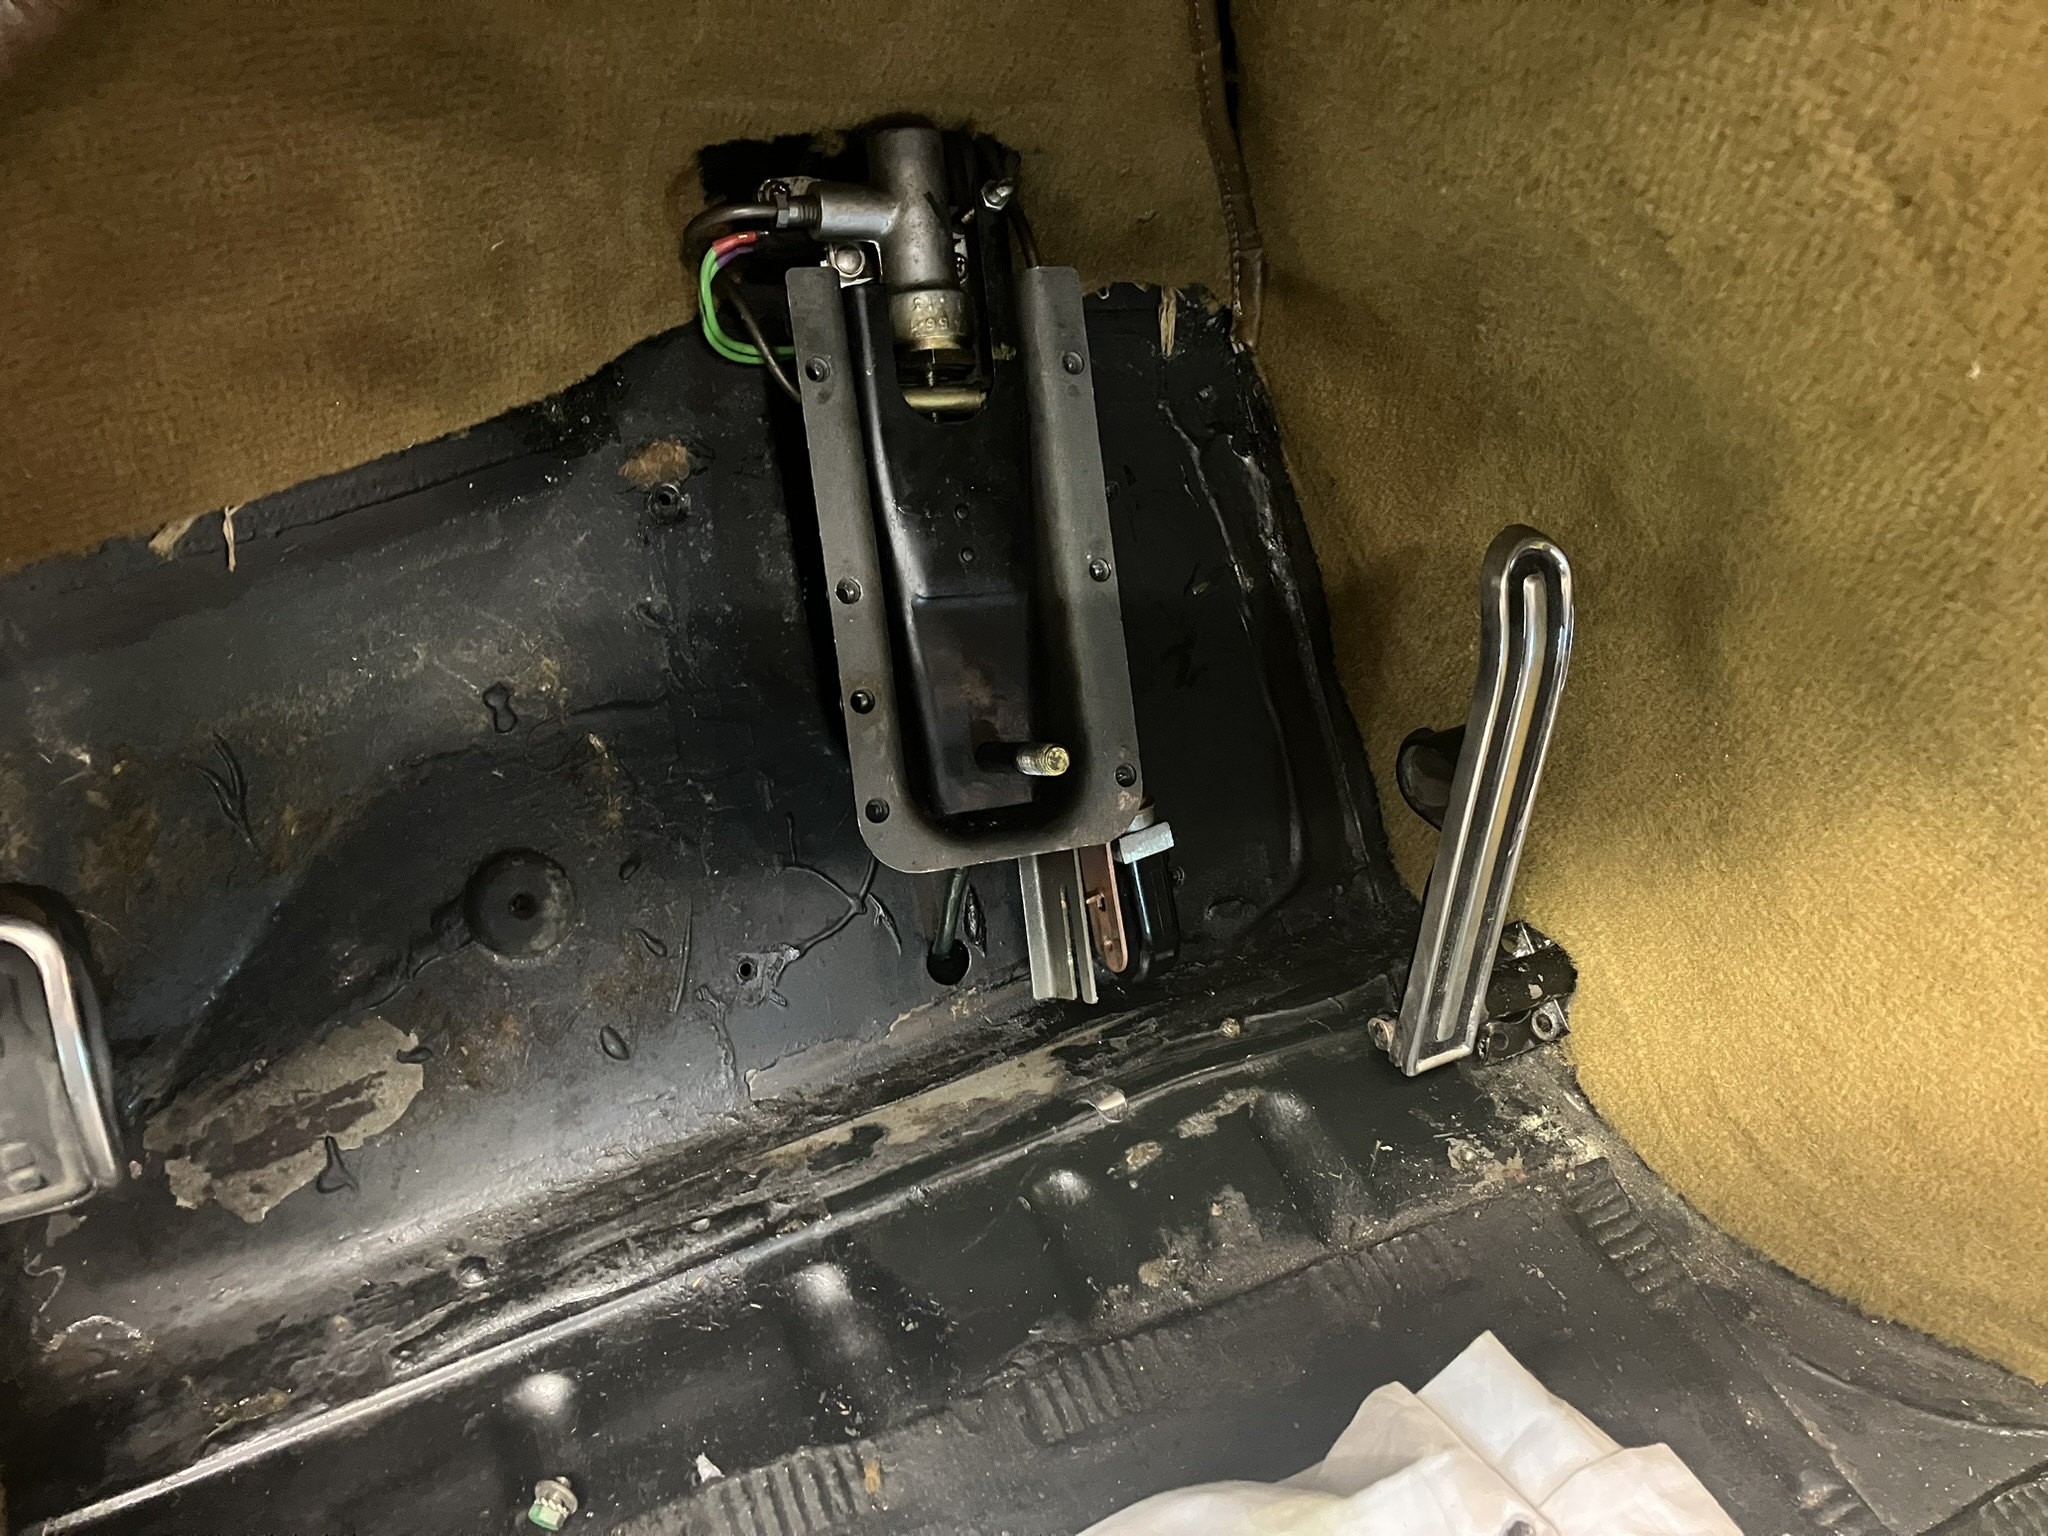
I got another from Holland and, on testing, it worked at 60 bar – just on the margins of ‘in spec.’. I removed my old one again and decided to recalibrate it while i was at it – just for the learning. It was no good as it was. It proved easy to re-calibrate but in removing the rivet holding its case on, the drill slipped and shattered the plastic case.
That being so, I planned to fit the other one I’d got from holland. But I decided to slightly recalibrate it so that it was in the middle of spec. About 65 bar. I could also clean the contacts. I removed the cover (carefully this time) and this is what i found. Piles of rust! It had looked fine from the outside.
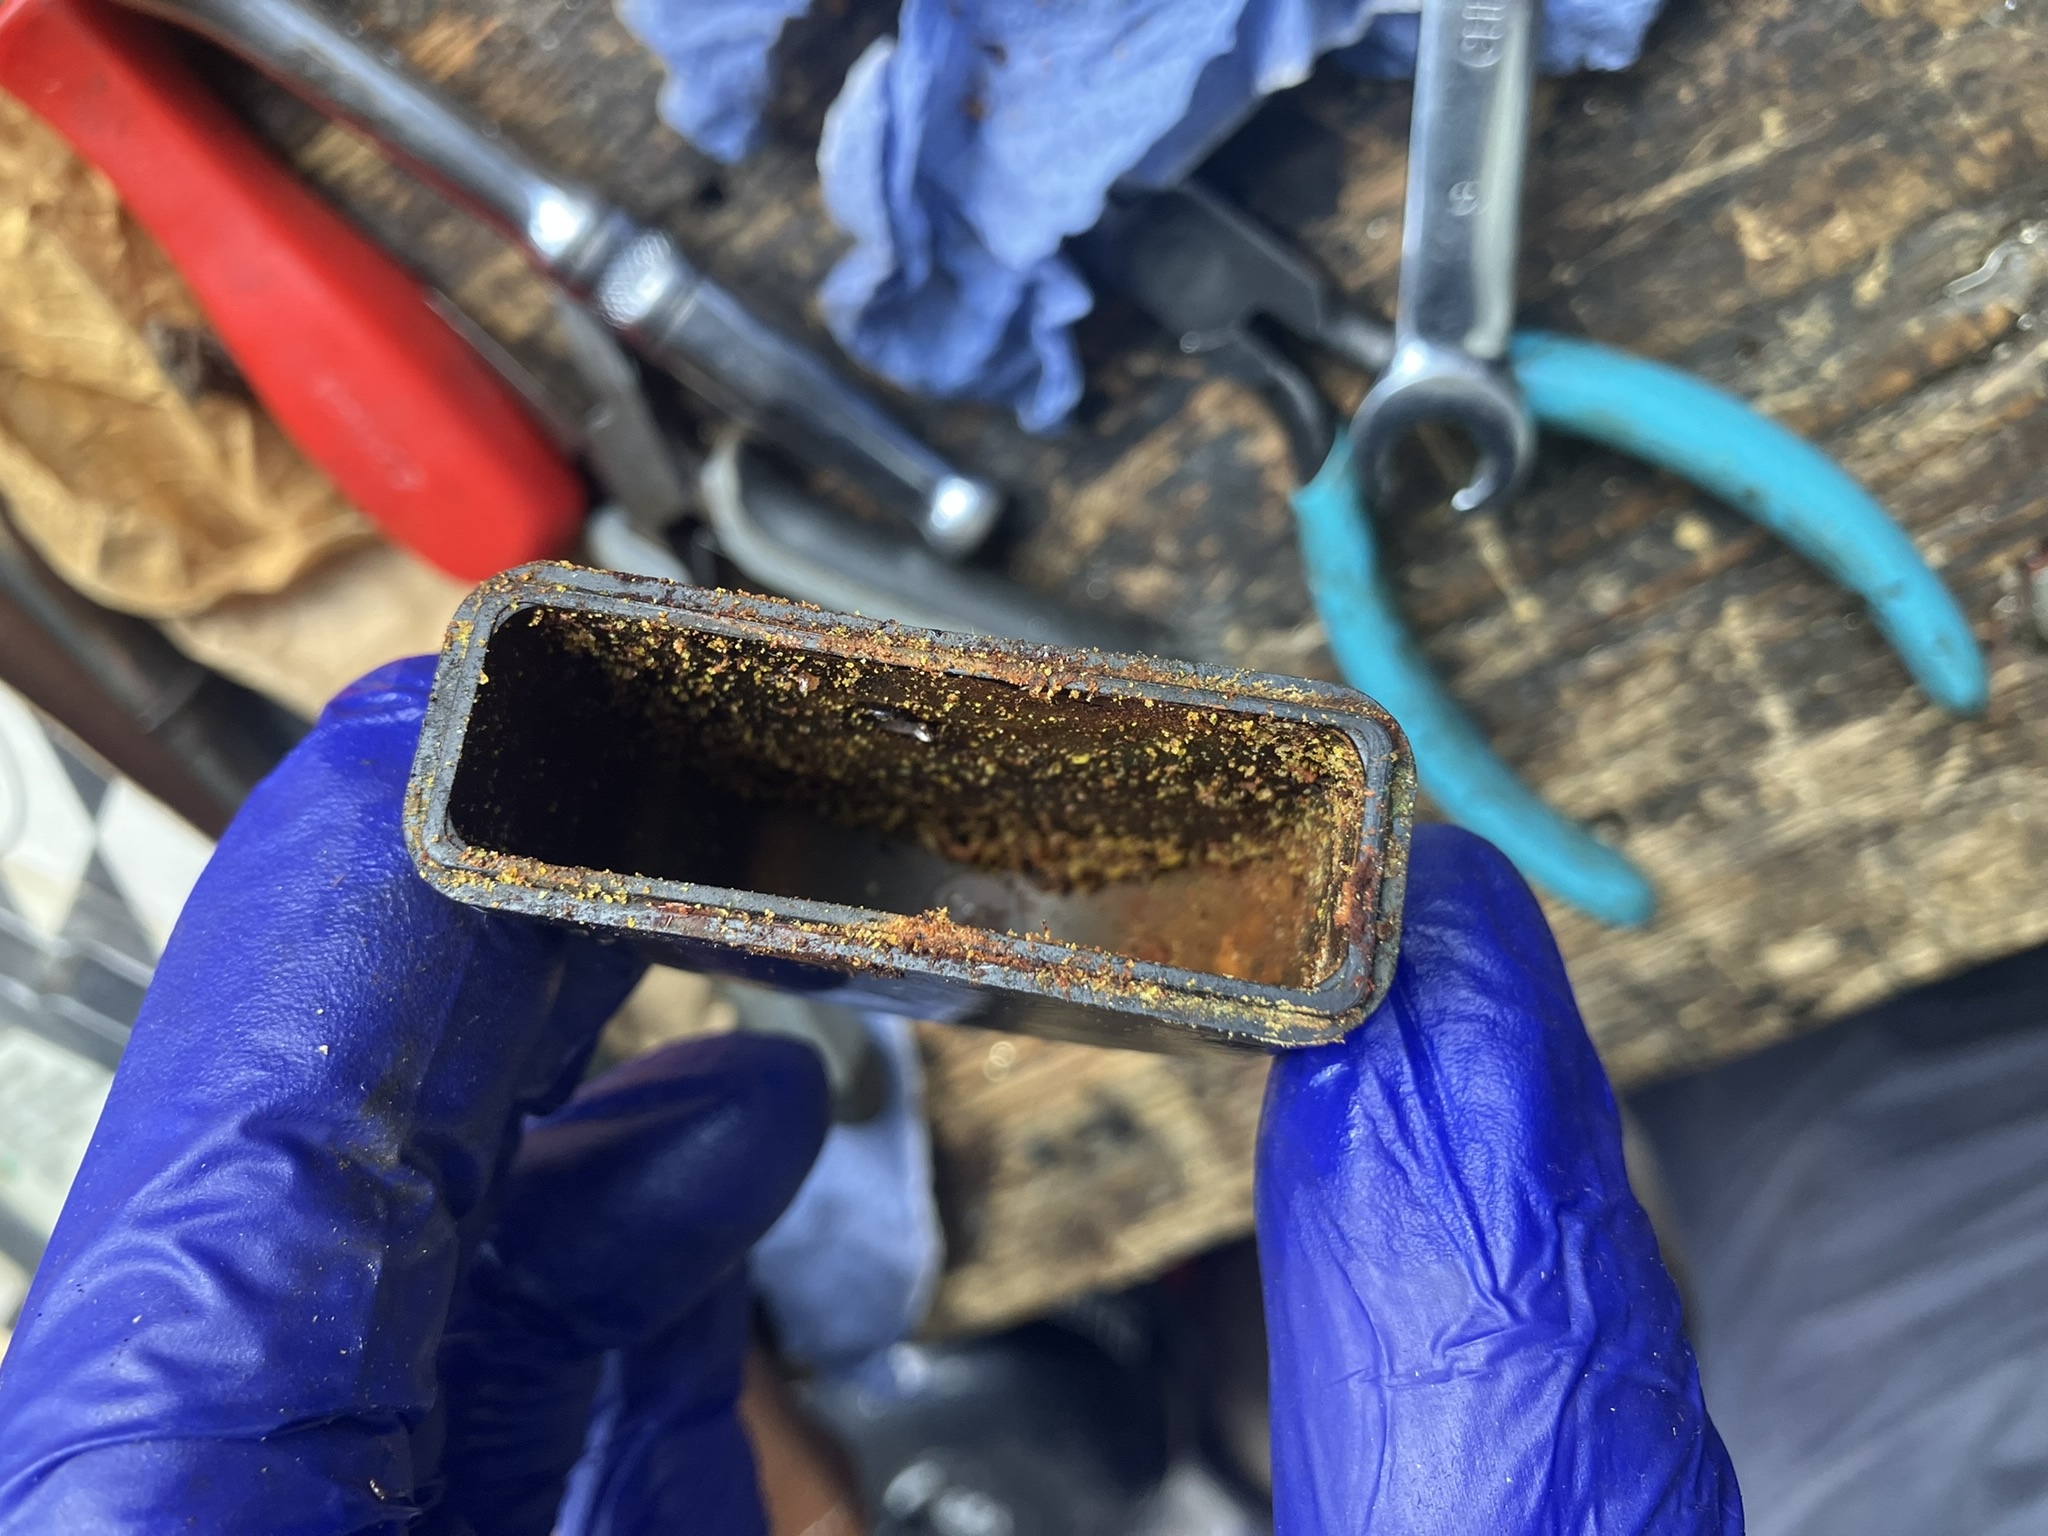
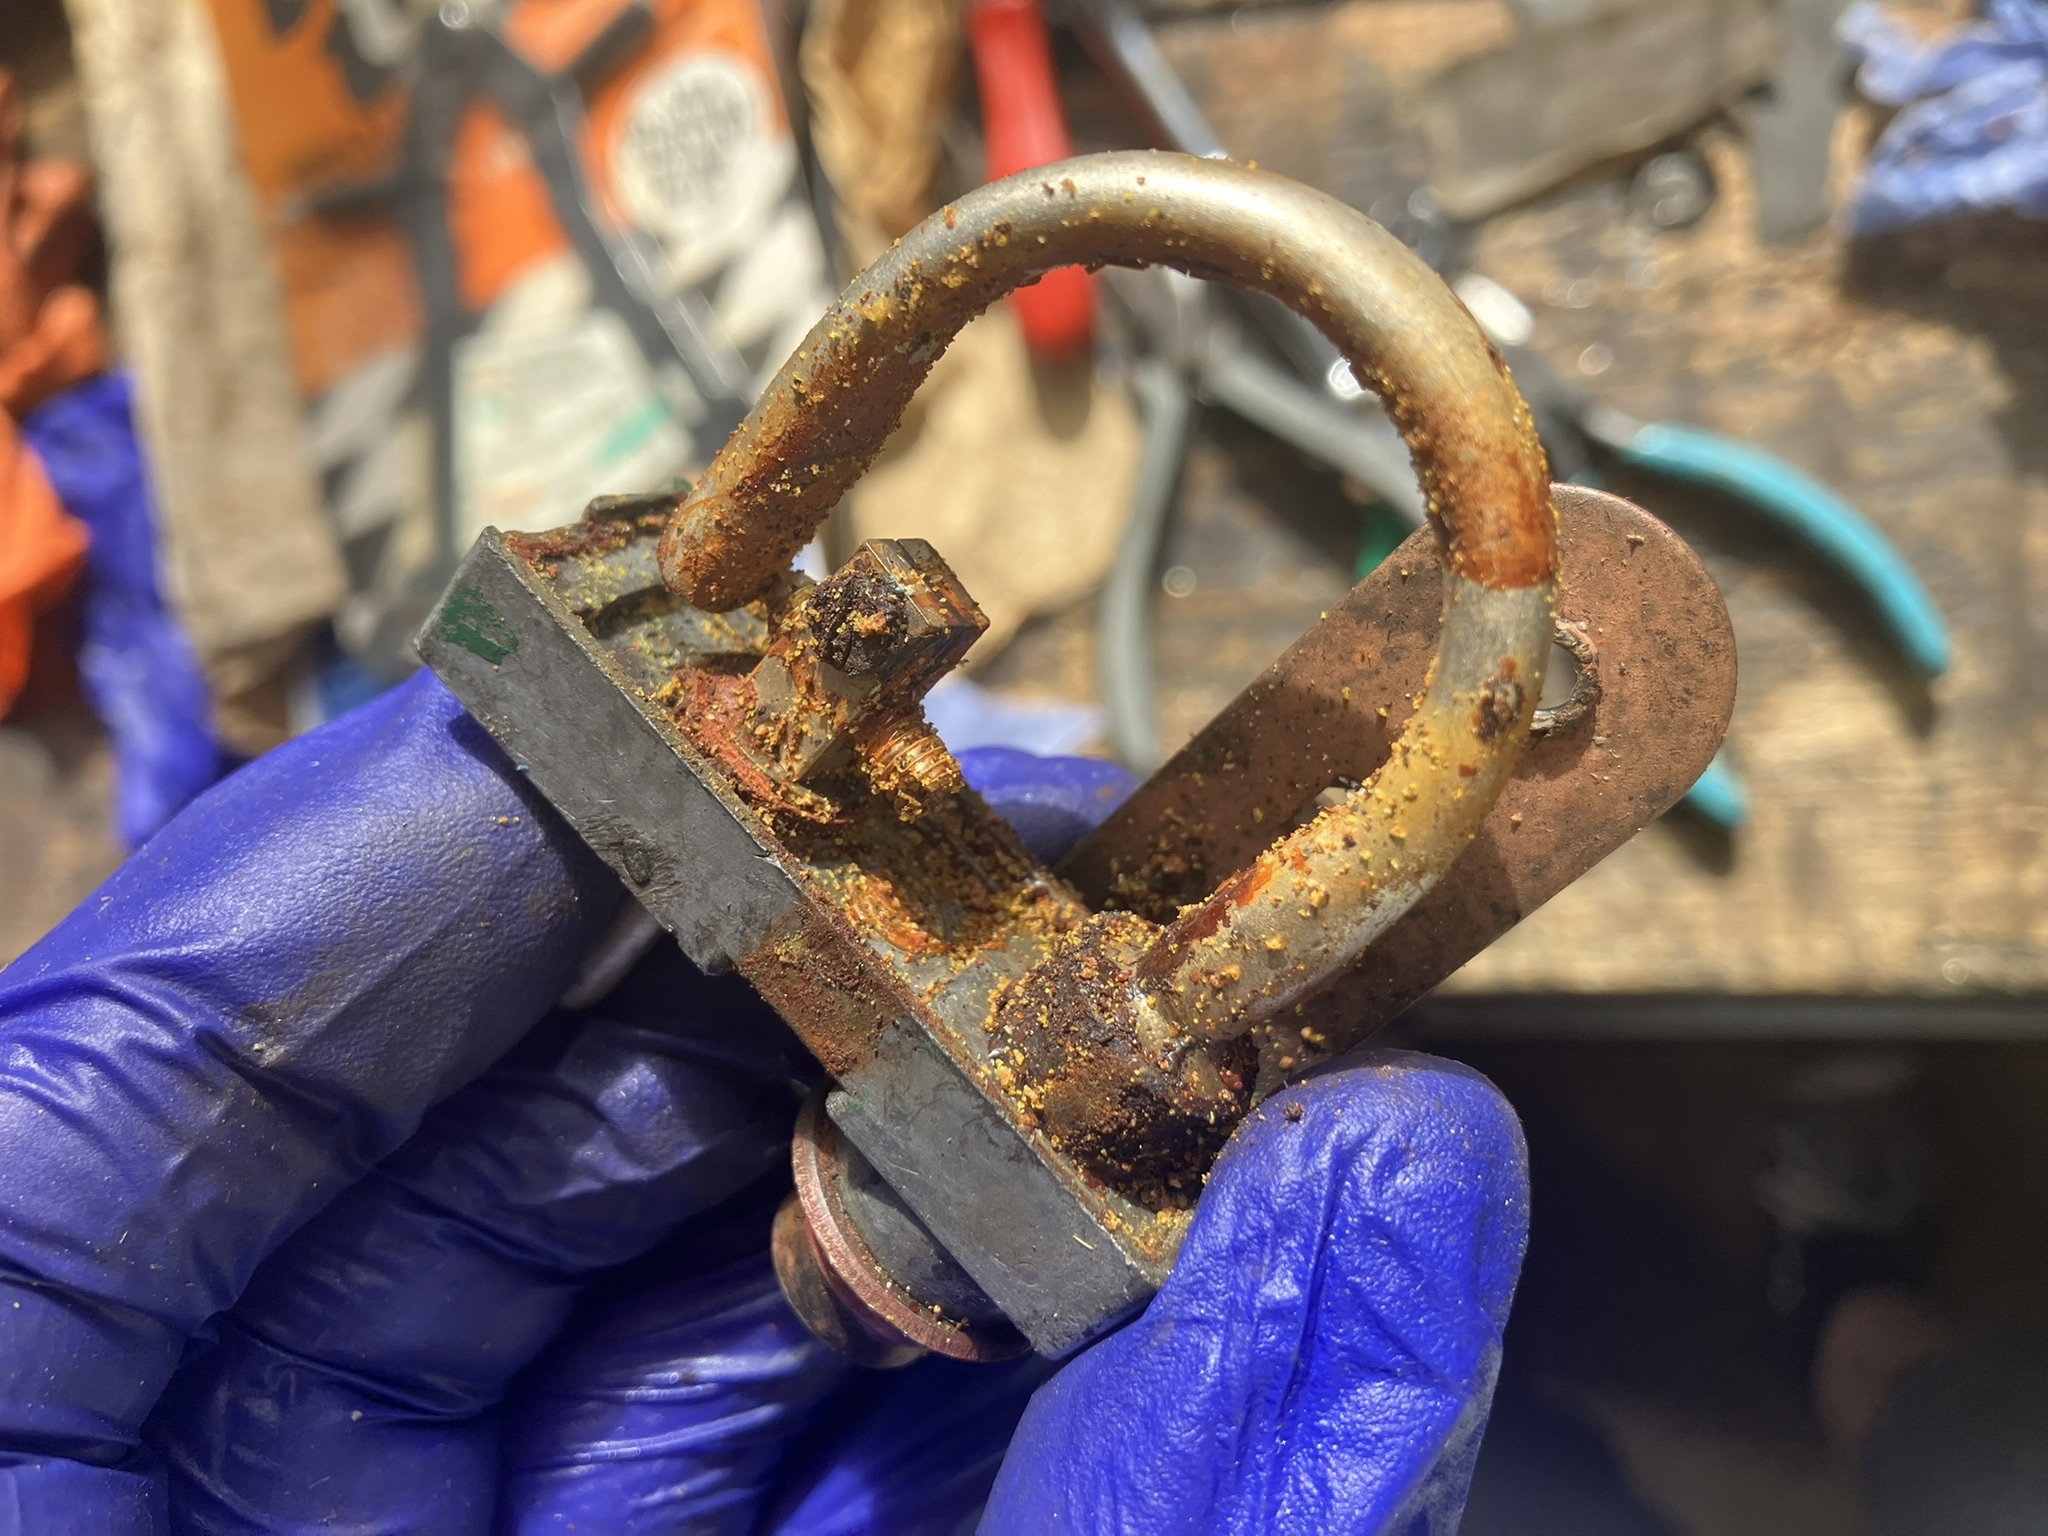
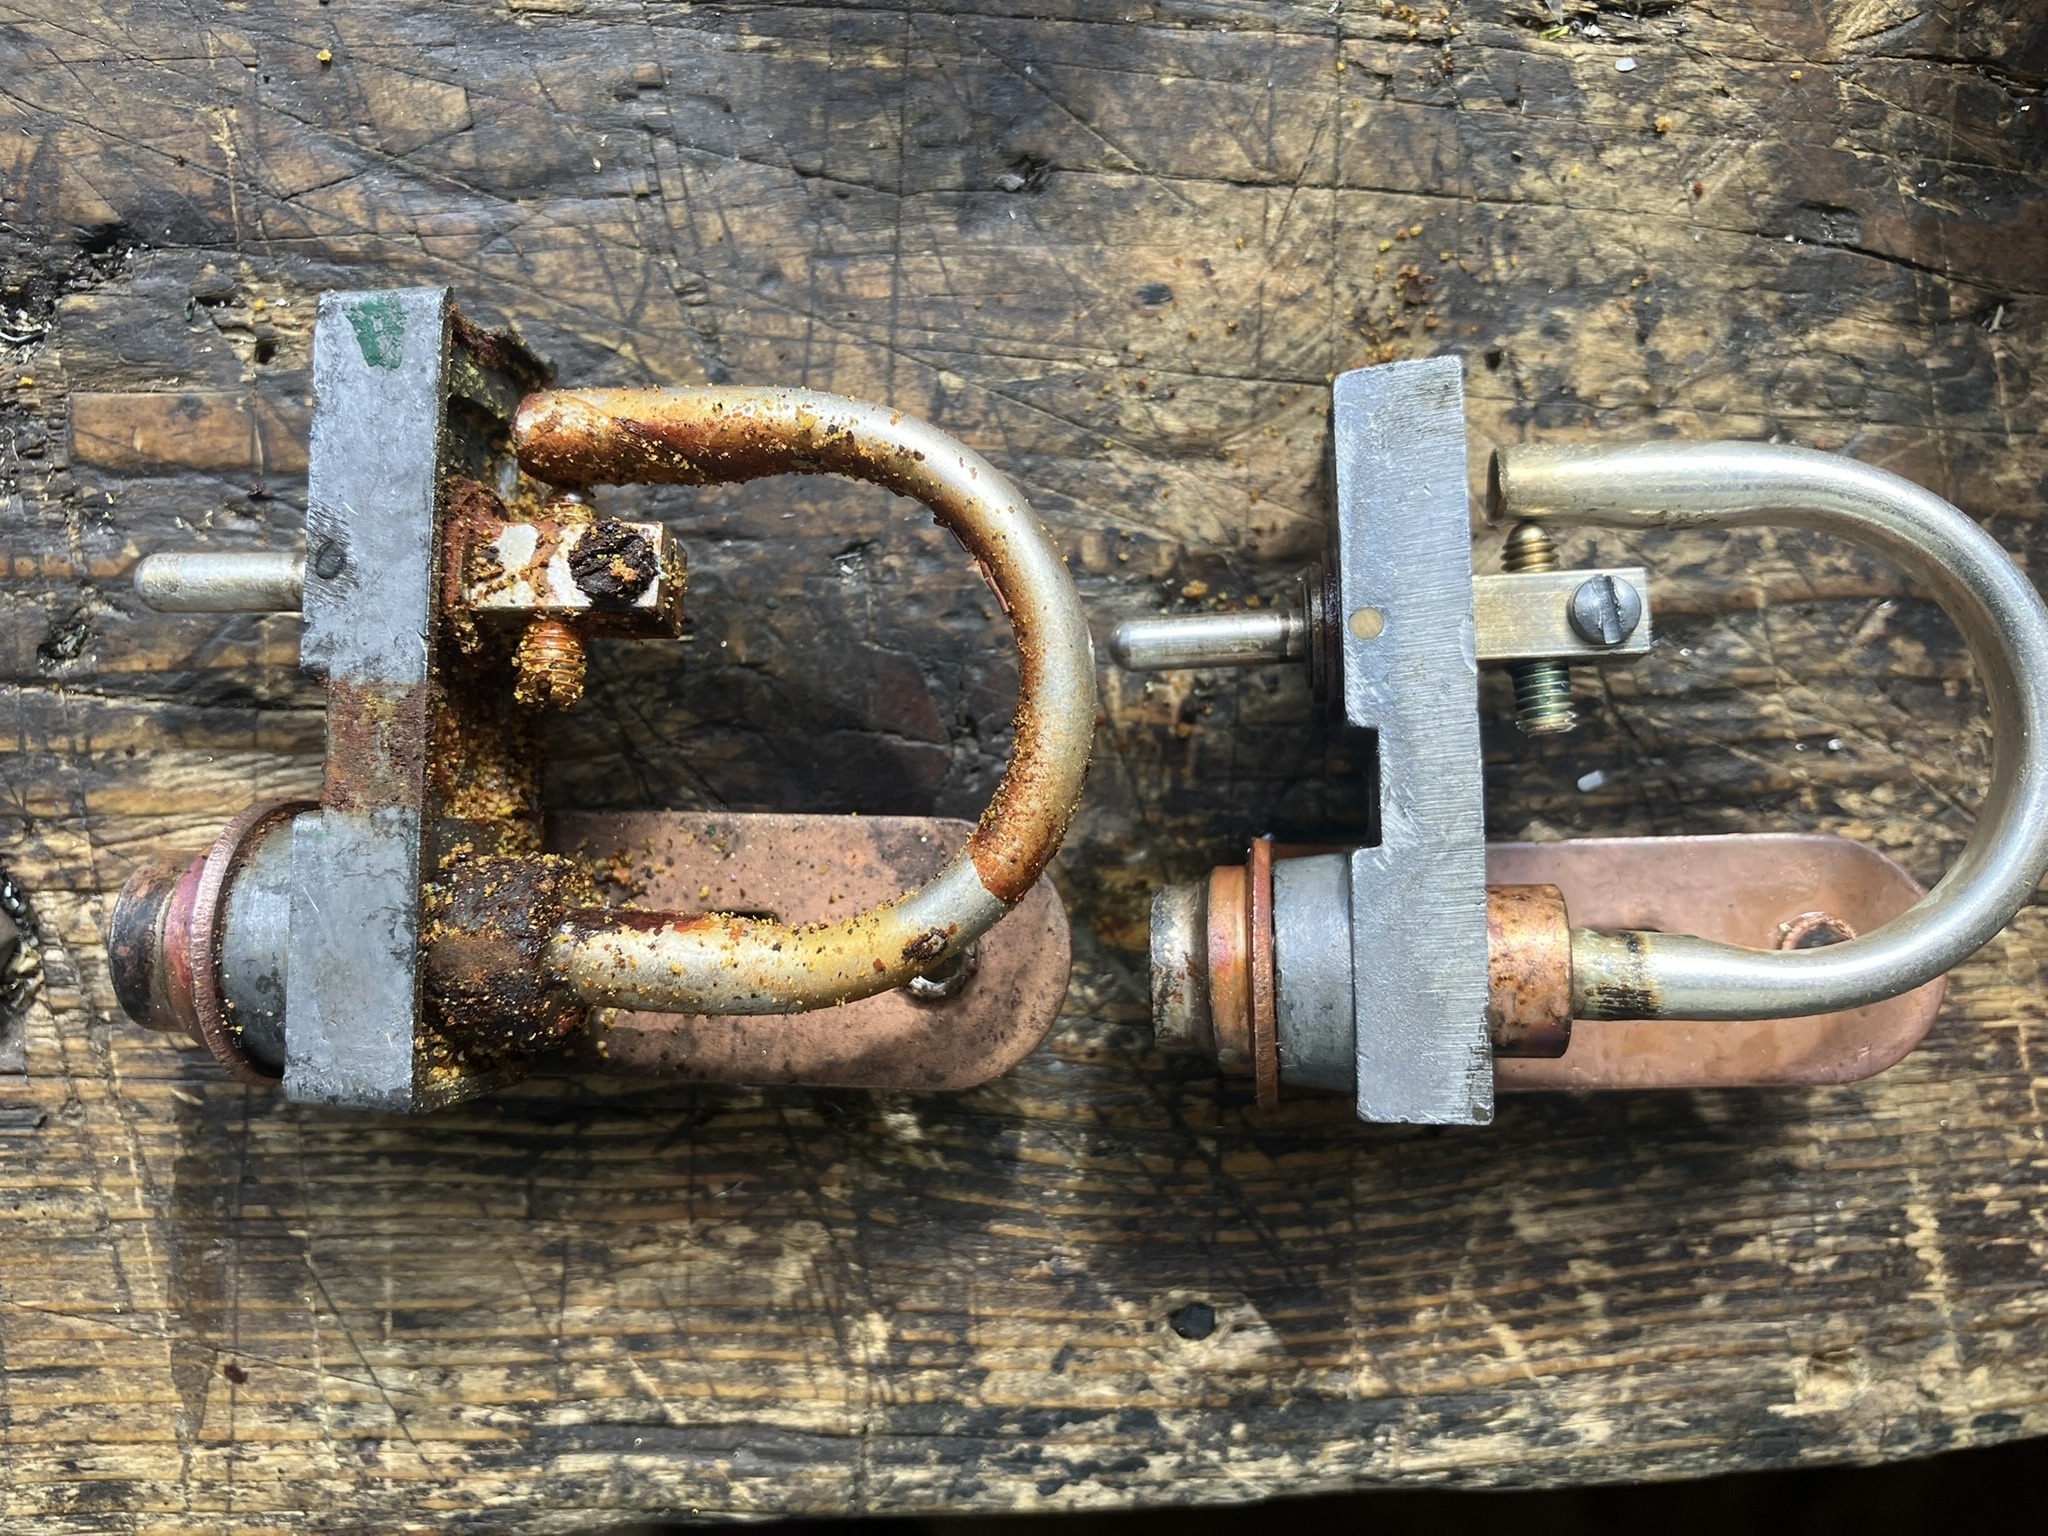
I’m so glad i didn’t just fit it in its 60 bar mode! In the end, i’ve used my original switch – recalibrated to 64 kg/ cm2 – and used only the cover from the spare i bought.
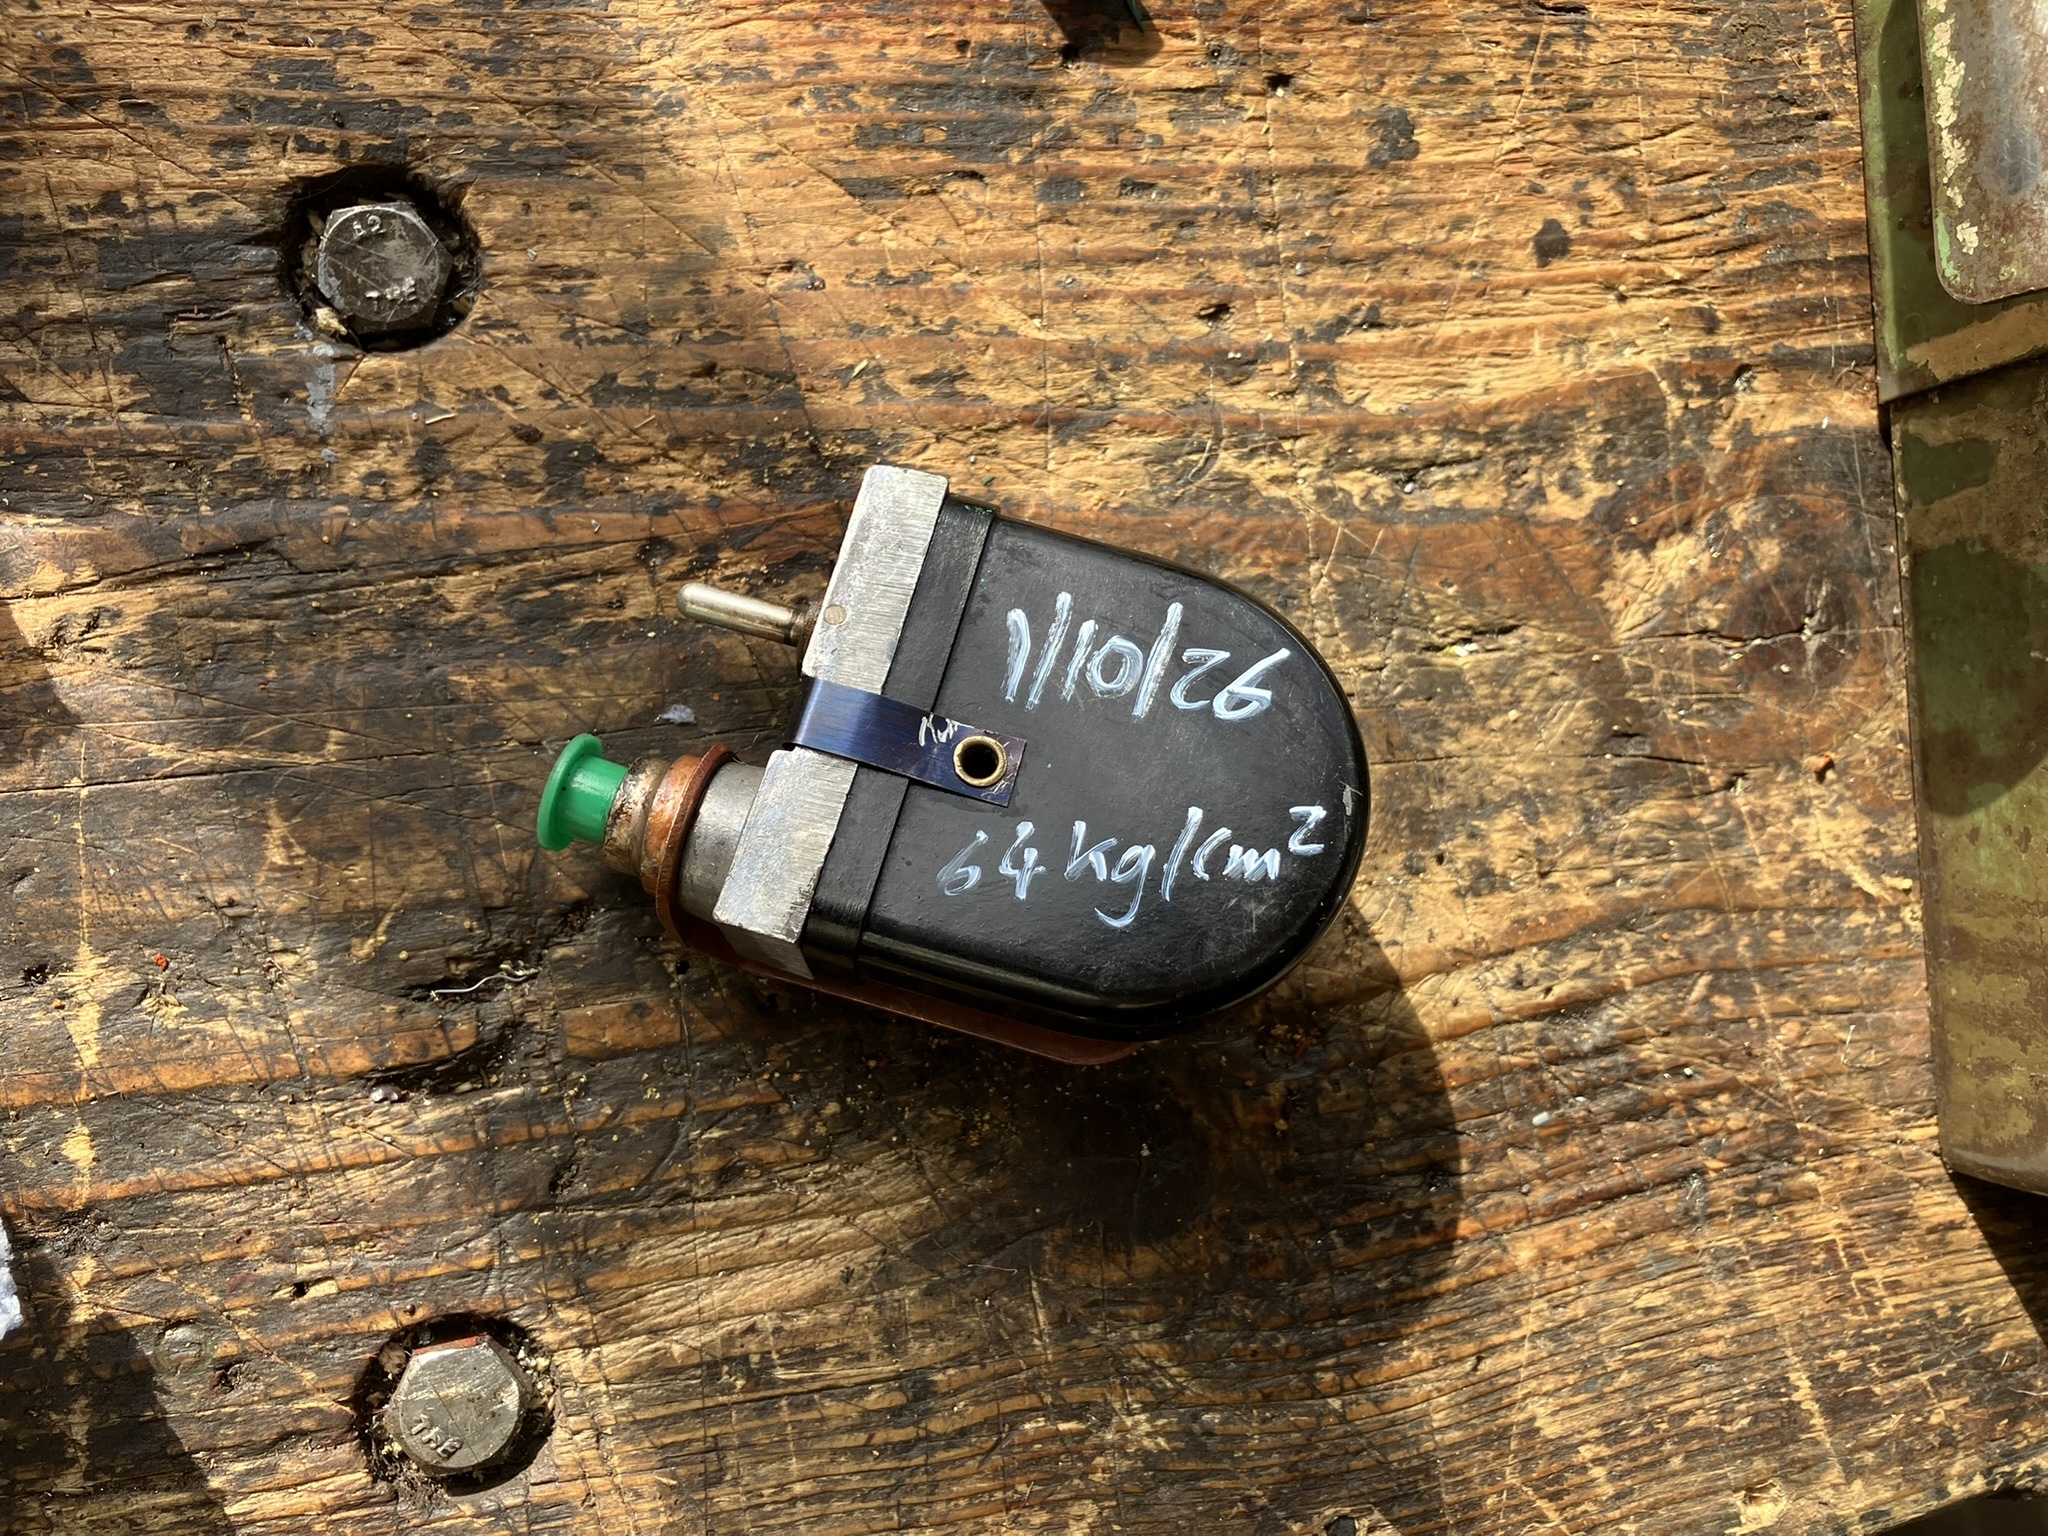
I think I’ve worked out why – when still in its 22 bar mode – it didn’t work when refitted. I’m guessing that there is residual pressure in the switch that is not released when the engine is turned off or even when the pressure regulator bolt is loosened. After refitting and starting the engine, I think pressure in my car didn’t drop to 22 bar or below – so my light never came back on. I think that – again, when it was in its 22 bar mode – if I’d opened the brake bleed screws, pressure would have dropped to zero and my light would have come on – but it still needed fixing.
Now that it’s correctly recalibrated, if pressure drops to anything below 64 bar the light will come back on. And, if my theory is correct, there can’t be that much residual pressure in the system.
Next/ last job is to bleed the front brakes again. then i can investigate the suspected air ingress on my carb.
I agree Colin. Those yellow H1s look fine.
I bought some yellow P45T bulbs for my headlights from Citroen Classics – 2 to fit and 2 as spare. The two I fitted had ‘burnt’ with only about 1 hour of use. The filaments haven’t failed. The yellow paint/ coating has burnt and gone dark brown on one side of the globes, meaning the light isn’t penetrating…..
i’ll try the other two but some/ all might be going back for a refund.
Late 1967 DS21 Pallas:
If the internal circuitry was understood, then one could surely get one or wire up more than one modern relays to do the same thing.
Best Regards,
Michael (Isle of Wight)Below is an example of a modern relay that i think would do the same job. Do you agree Peter?
BUT I would go for easy first, and assume you’ve either got the relays muddled and so wired wrongly…..
Test each relay: unplug all the 4 pins and then put a test bulb or other tester/ meter between pins 2 and 3 and test for continuity. If it’s a relay for the QI lights, there should be NO continuity. So you should find two of your relays are like this. On the flash relay, pins 2 and 3 are in contact – so there should be continuity. You should onlu=y have one relay like this.
…..or have the correctly identified the flash function relay – but have it wired wrongly.
Pin 1 is a source of ‘flash’ power in from the INDICATOR stalk
(This source of power also provides the power to energise the relay solenoid coil)Pin 2 is OUT to the loom and on to the two main beams
Pin 3 is a source of power in from the TWISTY LIGHT stalk
Pin 4 is out to ground from the relay solenoid coil.
here is a Bosch example of a modern relay. Peter can confirm if this would do the same job as the Sanor.

And here is another. Different brand, same thing, same function.

-
AuthorPosts